


Fridge Kit
Set up your Fridge Kit
The Fridge Kit gives your Pila eyes inside your refrigerator, and everything you need to install your Pila neatly in a cabinet near it. Set aside about 30 minutes, or 10 if you are not drilling.
What the Fridge Kit does
Two wireless sensors, one for the fridge and one for the freezer, report temperature and light to your Pila around the clock. Your Pila alerts you when either side drifts out of a safe range or when a door is left open, shows you how your fridge holds temperature during a power outage, and learns the normal rhythm of your compressor so it can tell you when the fridge starts working harder than it should.
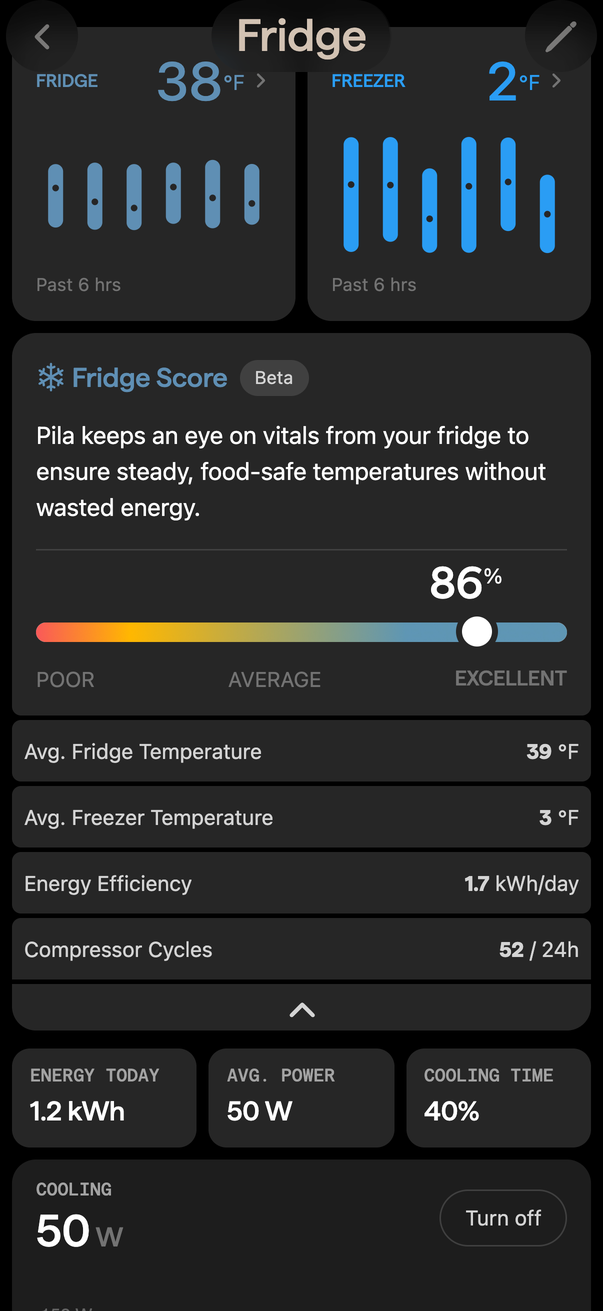
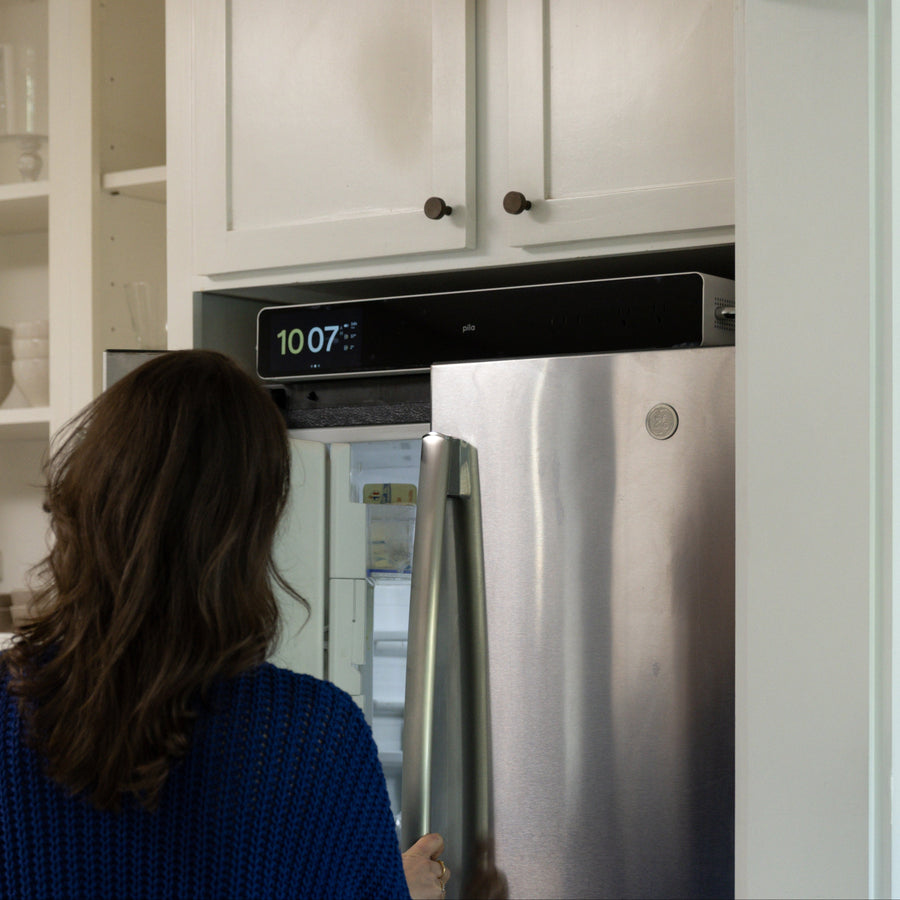
The rest of the box is about where your Pila lives. Your Pila needs to sit between the wall outlet and your fridge, and the cords, cable clip, drill bits and masking tape dots let you put it in a cabinet near the fridge, out of sight, instead of on the floor behind it.
What is in the box
- 2 fridge sensors
- 1 8 ft 9 in power cord for your Pila
- 1 5 ft extension cord for the fridge
- 1 cable clip
- 1 pilot hole drill bit
- 1 1.5 in diameter drill bit
- 2 masking tape dots
Tools you may need
- A power drill, if your Pila is going in a cabinet
- A vacuum, for the sawdust
- Your phone, with the Pila app installed and signed in
Install
There are two places your Pila can go. On top of the fridge takes no tools. In a nearby cabinet takes a drill and about 20 minutes, and it is the tidier result. Either way your Pila plugs into the wall and your fridge plugs into your Pila.
Before you start, pull the fridge forward. Most roll out on wheels, and you will need to reach the outlet behind it.
Option 1: on top of the fridge
Set your Pila on top of the fridge, toward the back, with a few inches of clear space around it so air can move. Run the 8 ft 9 in power cord down the back of the fridge to the wall outlet. Nothing to drill, and you can move it later.
Option 2: in a nearby cabinet
Pick the cabinet above or beside the fridge, then pick the spot where the cords will drop through, usually the back corner closest to the fridge. Look on the other side of the panel first and make sure nothing is behind it.
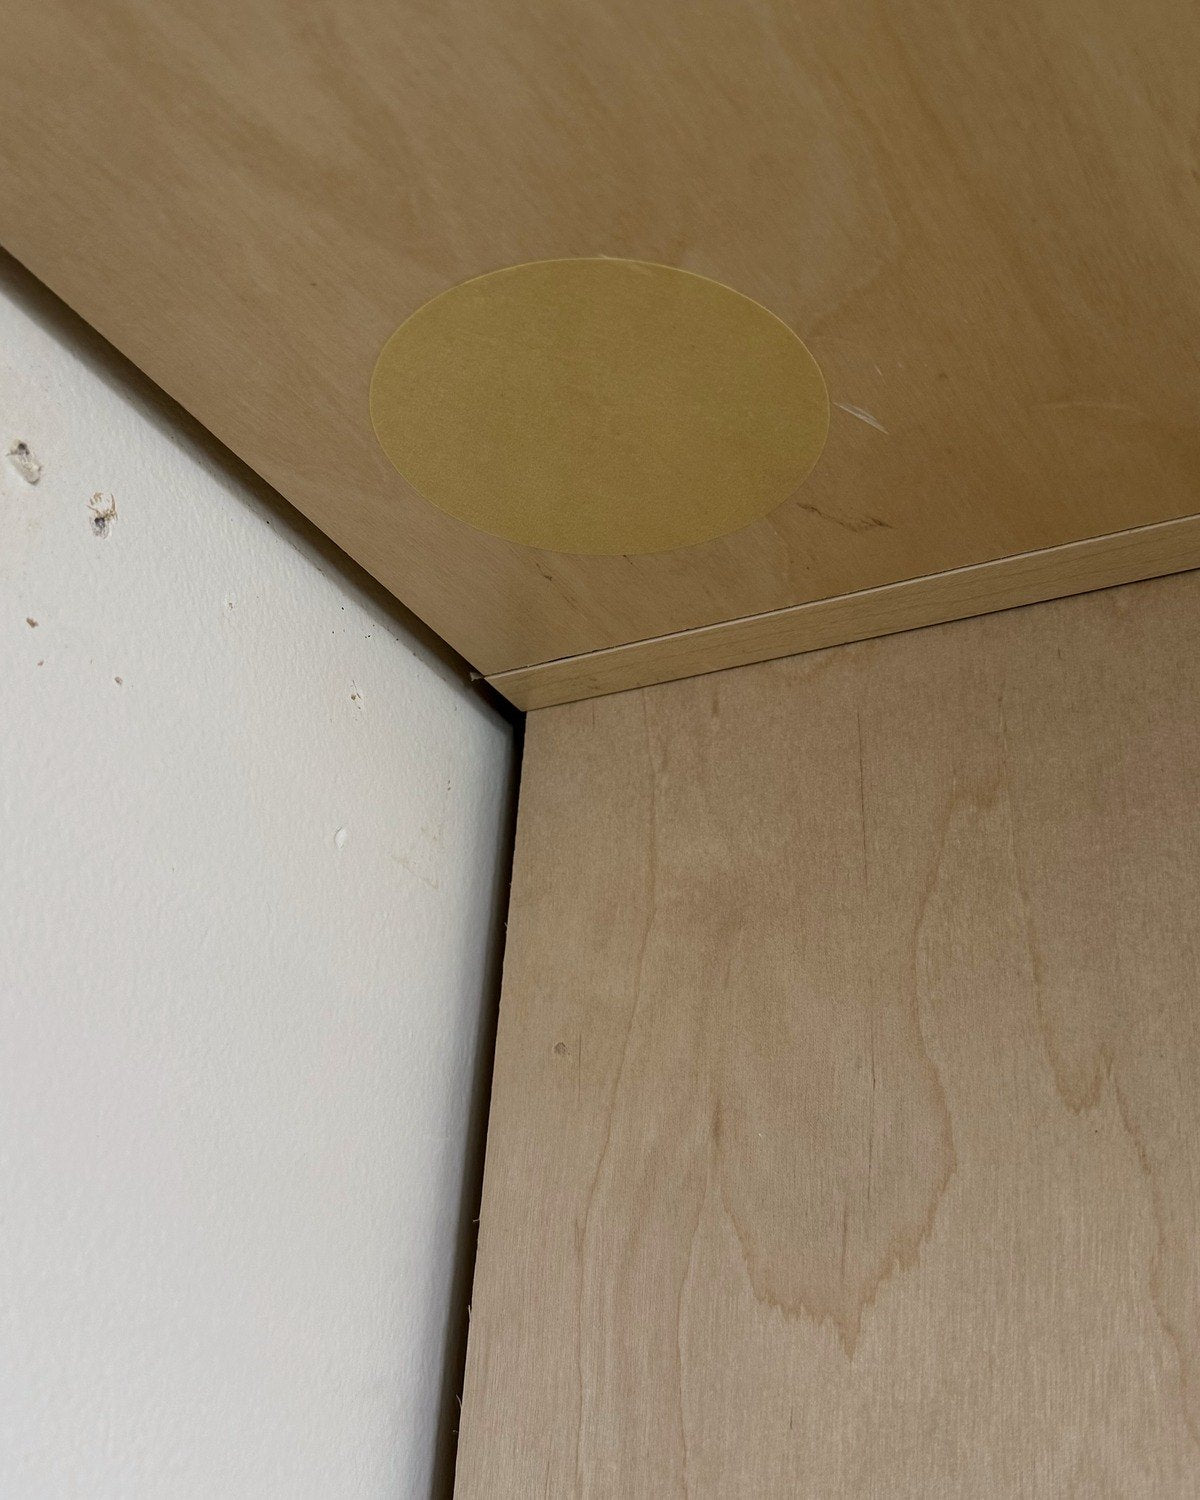
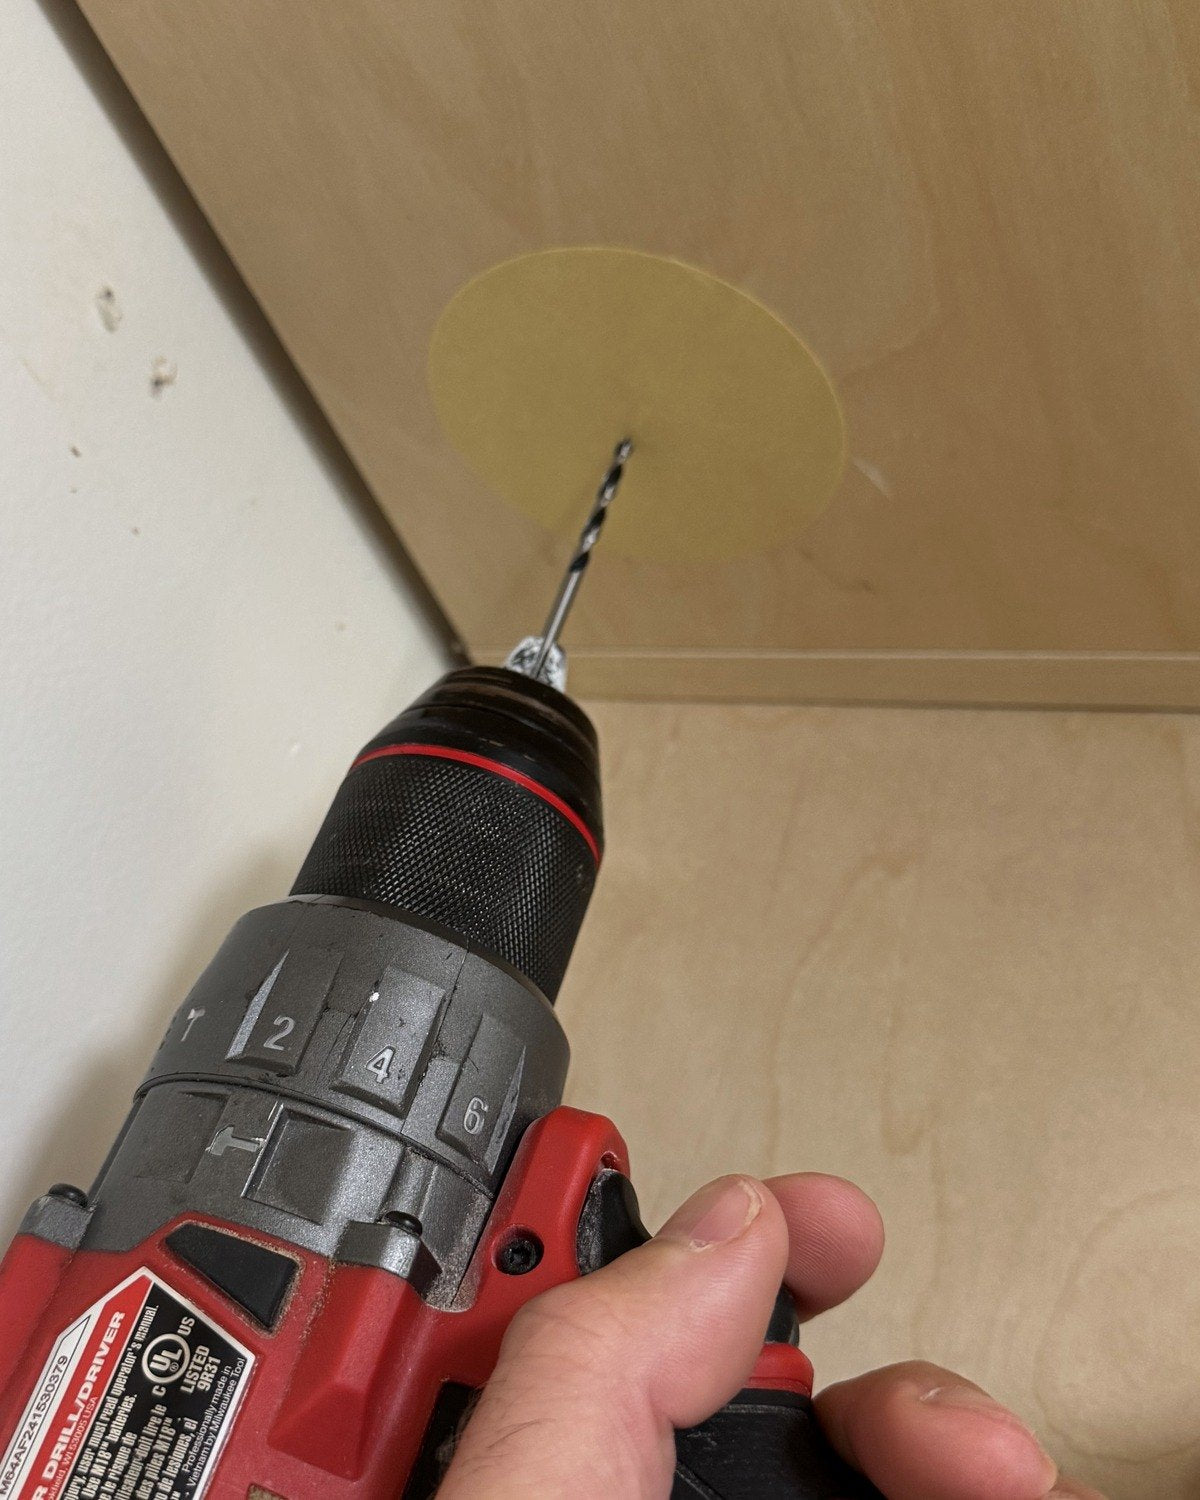
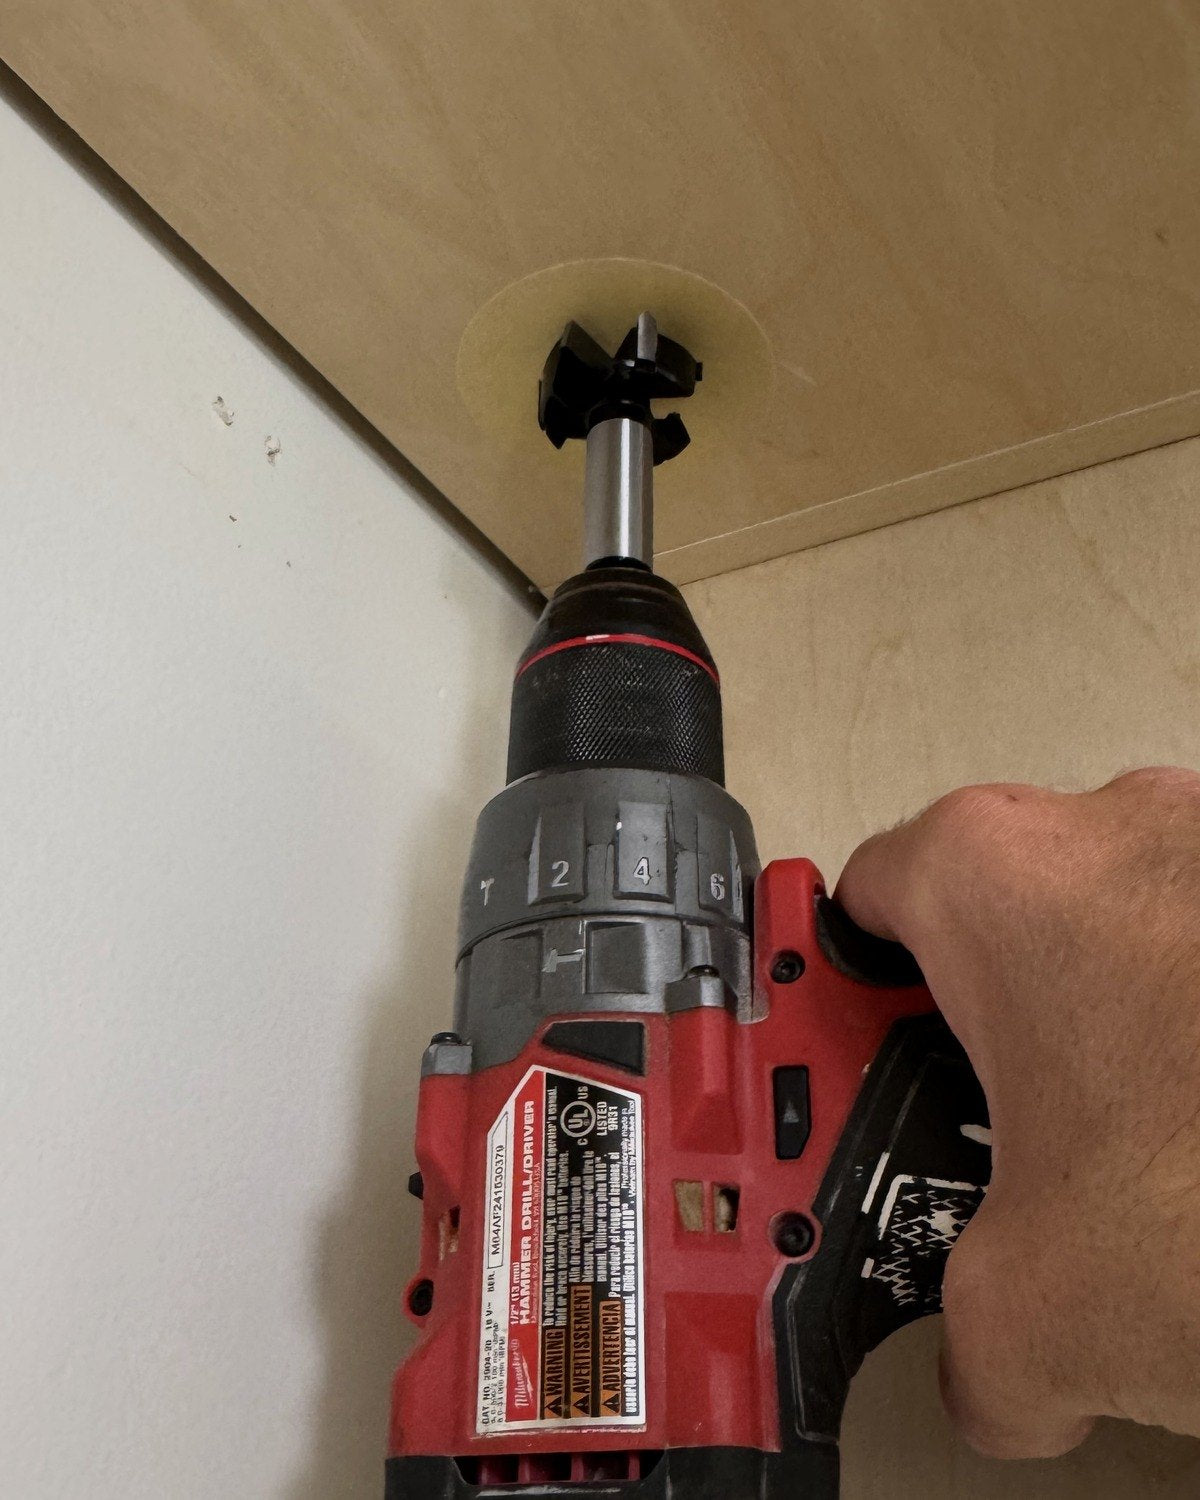
- Tape both sides. Put one masking tape dot where the hole will go, and the second on the other side of the panel, lined up with the first. The tape holds the wood fibers together so the edges of the hole stay clean instead of splintering.
- Drill the pilot hole. Use the small bit and drill straight through the center of the dot. This gives the larger bit something to follow, so it cannot wander across the surface.
- Open it up to 1.5 in. Switch to the 1.5 in bit, line it up on the pilot hole and keep the drill square to the surface. Ease off as the bit breaks through the far side.
Vacuum the sawdust, put your Pila in the cabinet, then feed the cords through the hole.
Connect power
- Plug your Pila into the wall with the 8 ft 9 in power cord.
- Plug your fridge into one of the two outlets on the back of your Pila. That is what lets your Pila see the fridge's power use, back it up during an outage and tie the sensors to the right appliance.
- If your fridge's own cord will not reach, add the 5 ft extension cord between the fridge and your Pila. Fridge cords are usually short and often exit the wrong side, so this is normal rather than a sign you have done something wrong.
Plug your Pila straight into a wall outlet. Do not run it from a power strip, and do not plug a second high draw appliance into the extension cord.
Tidy the cords
Use the cable clip to hold the cord run along the top or the back edge of the fridge so nothing hangs loose or gets pinched when you push the fridge home. Peel the backing, press the clip onto a clean dry surface, then snap the cord in.
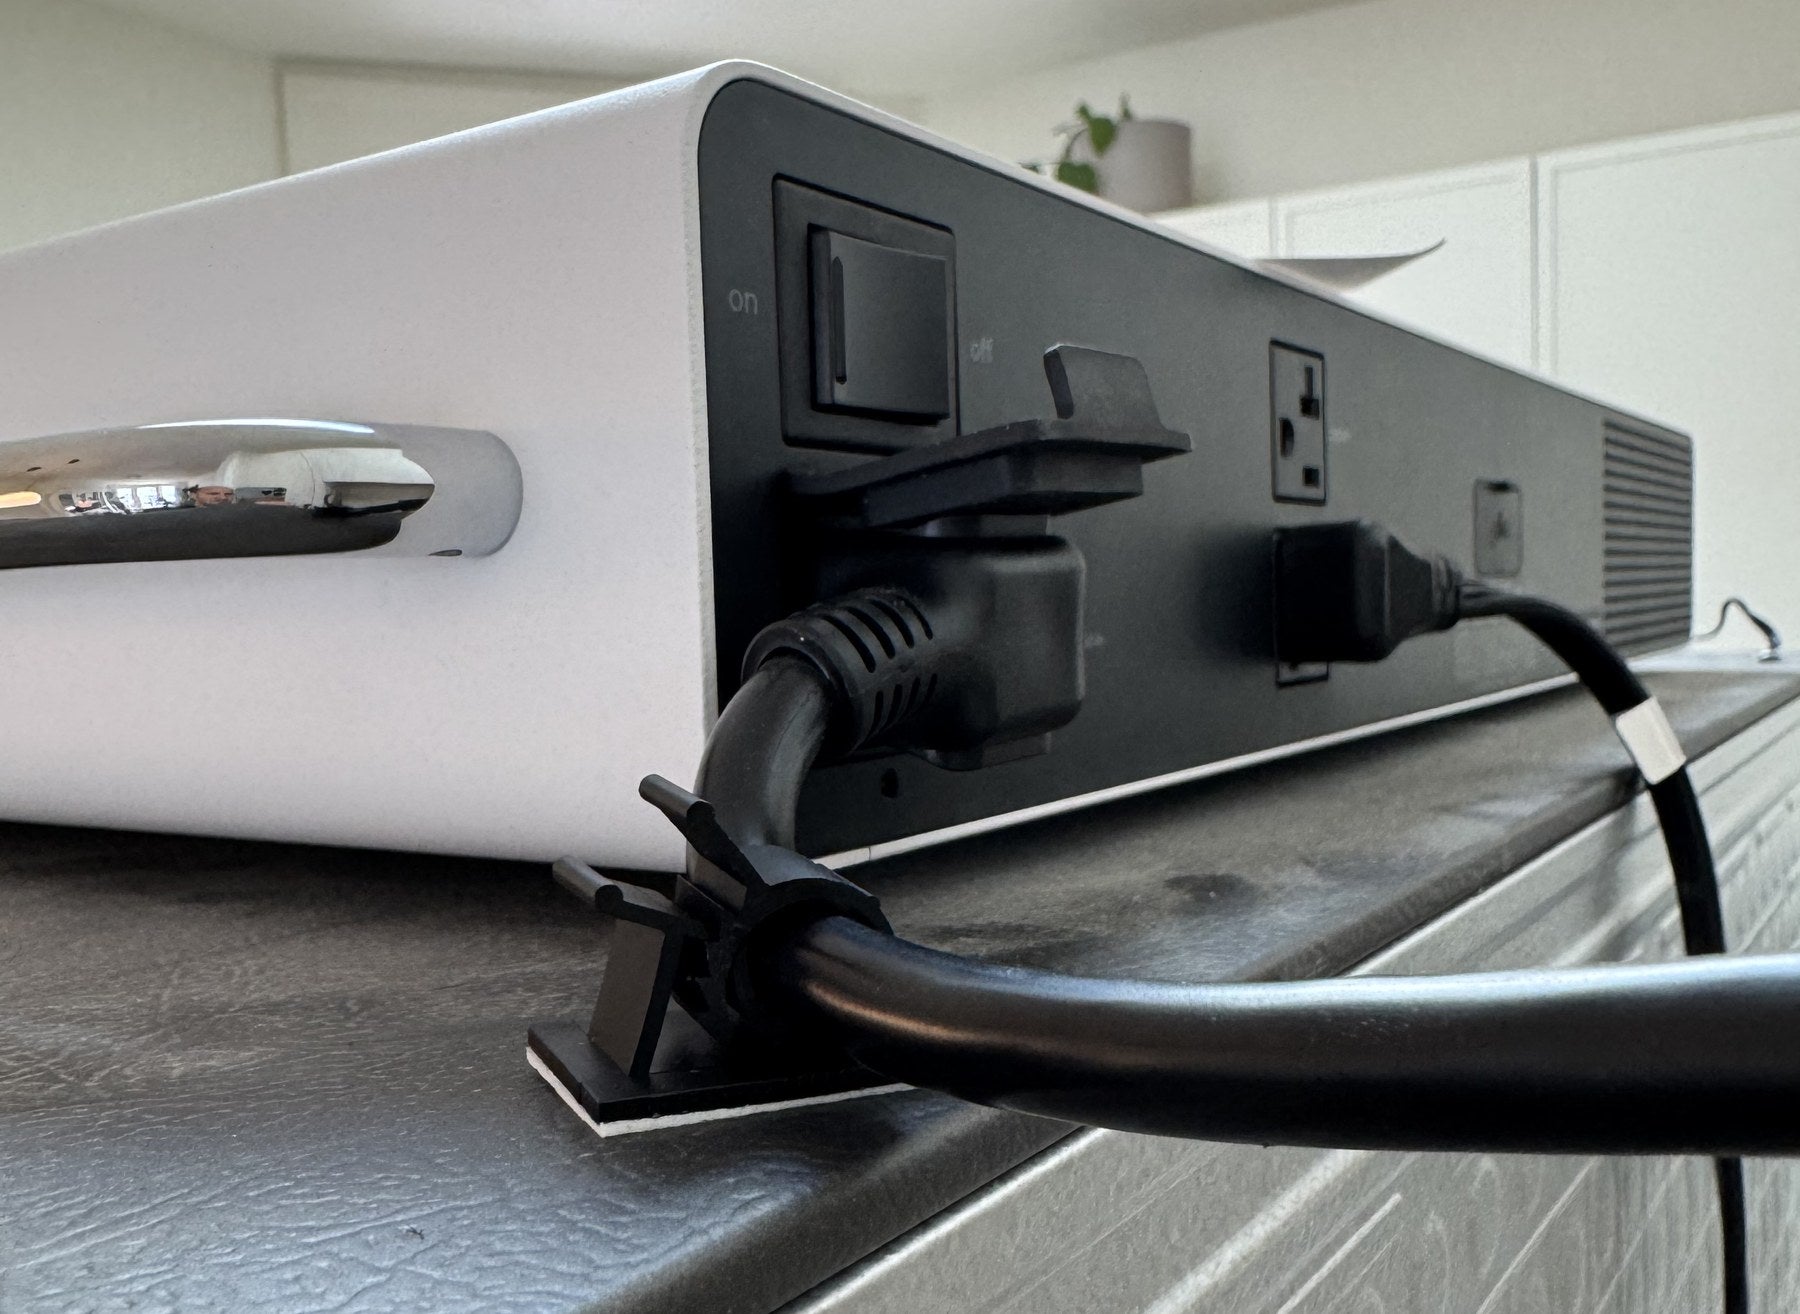
Roll the fridge back into place, leaving a little slack in the cords, and check that your Pila has powered up.
Pair the sensors
The sensors pair through your Pila, so make sure your Pila is powered on and online before you start. In the Pila app, open the Pila your fridge is plugged into, tap the outlet you used, and choose Fridge as the appliance. That starts the Fridge Kit flow.
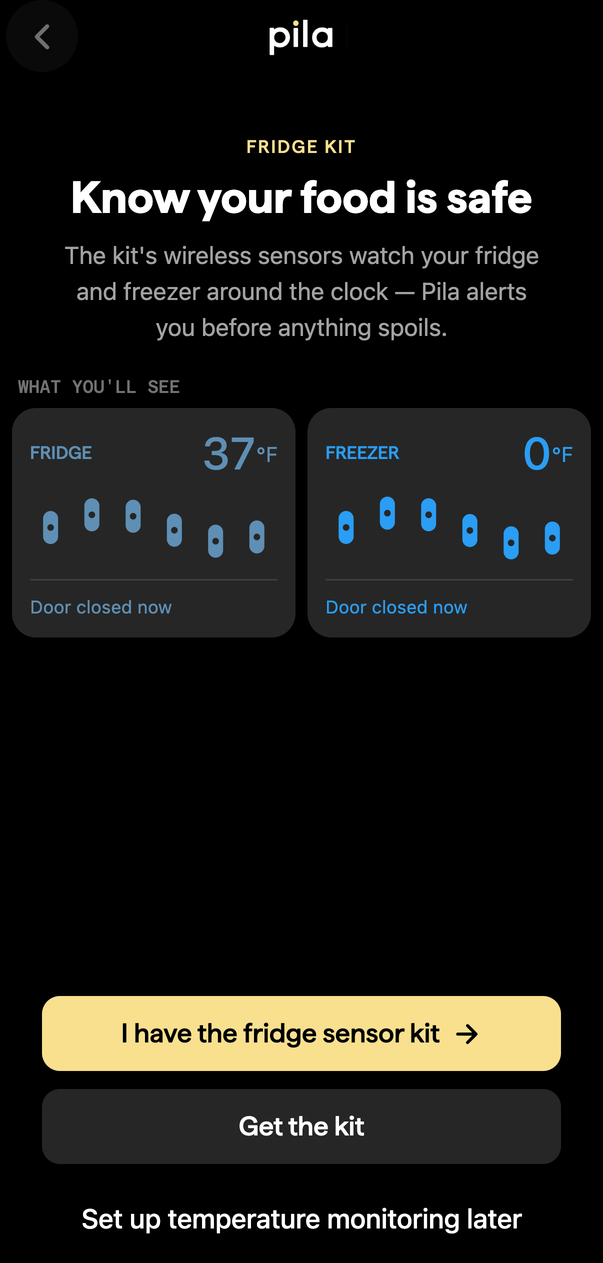
Tell your Pila what kind of fridge it is
Your answer sets how many sensors you will place and which safe ranges apply. A top freezer, bottom freezer, side by side or French door fridge uses both sensors. A one door fridge, a mini fridge, a wine fridge, an upright freezer or a chest freezer uses one, and the second sensor can stay in the box.
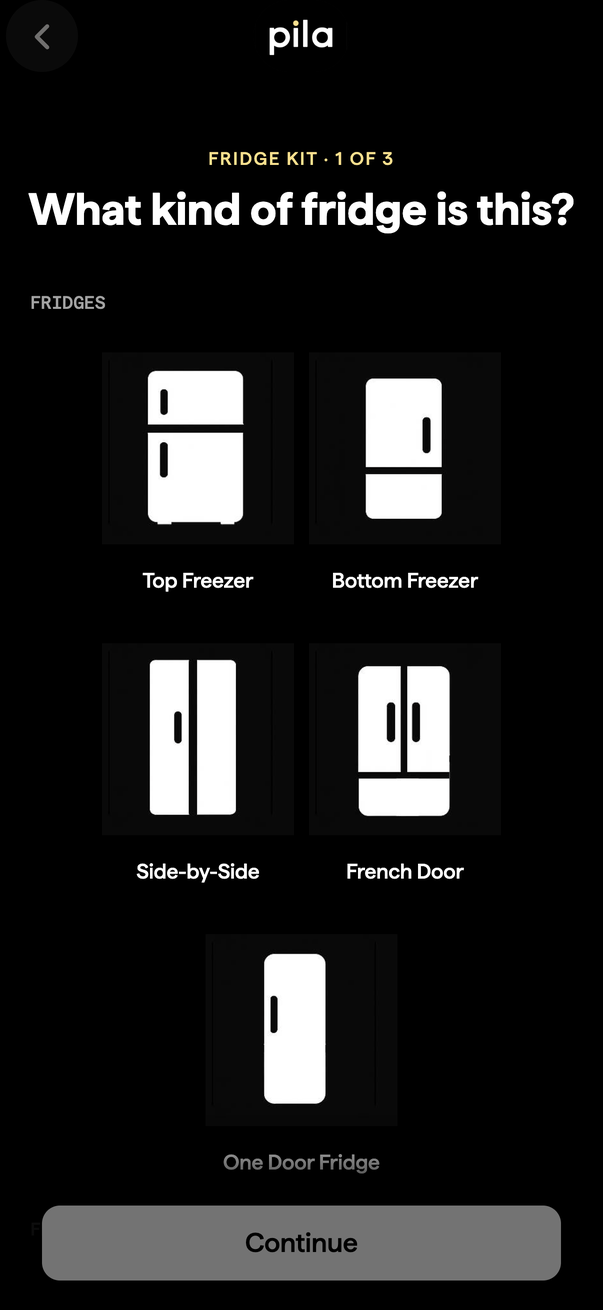
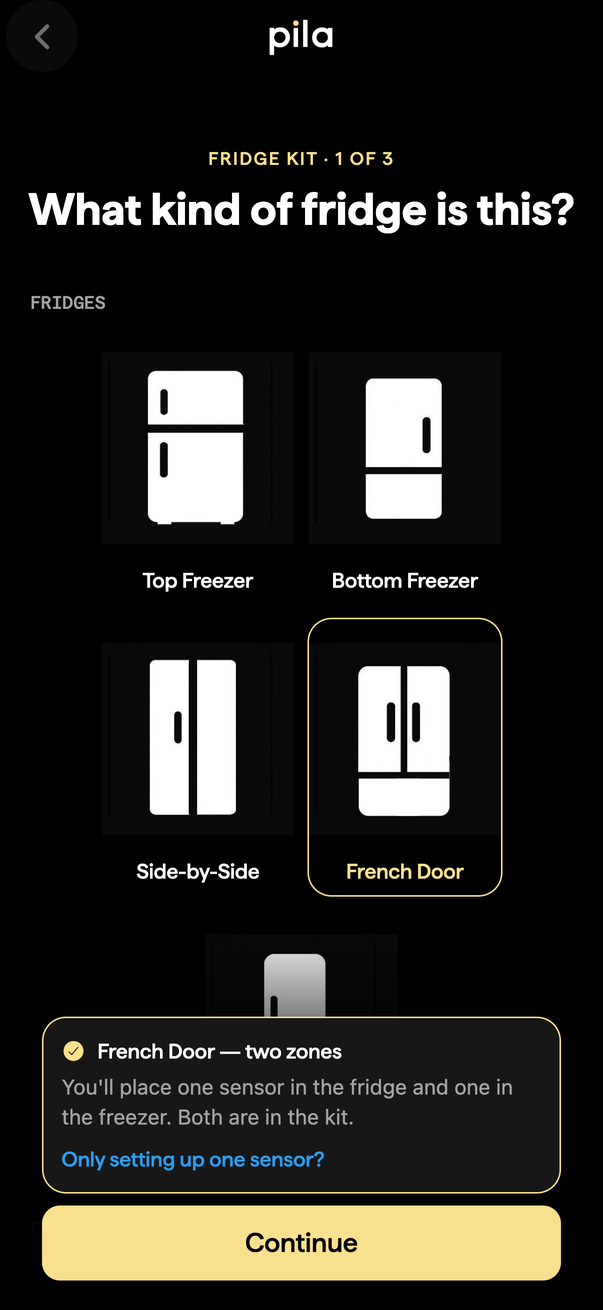
Have a two zone fridge but only want to monitor one side? Tap Only setting up one sensor? in that summary and choose the zone you care about.
Pull the battery tabs
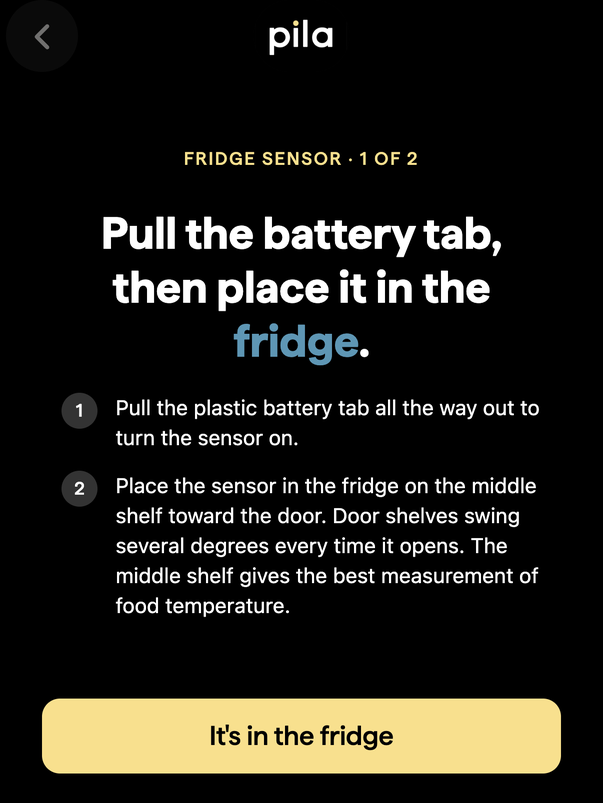
Take both sensors out of the kit and pull the plastic tab all the way out of each one. That is what turns a sensor on, and a sensor that is already awake is ready to report the moment you pair it. Pull firmly and check the tab came out whole, since it can tear and leave a strip inside.
Scan the first sensor
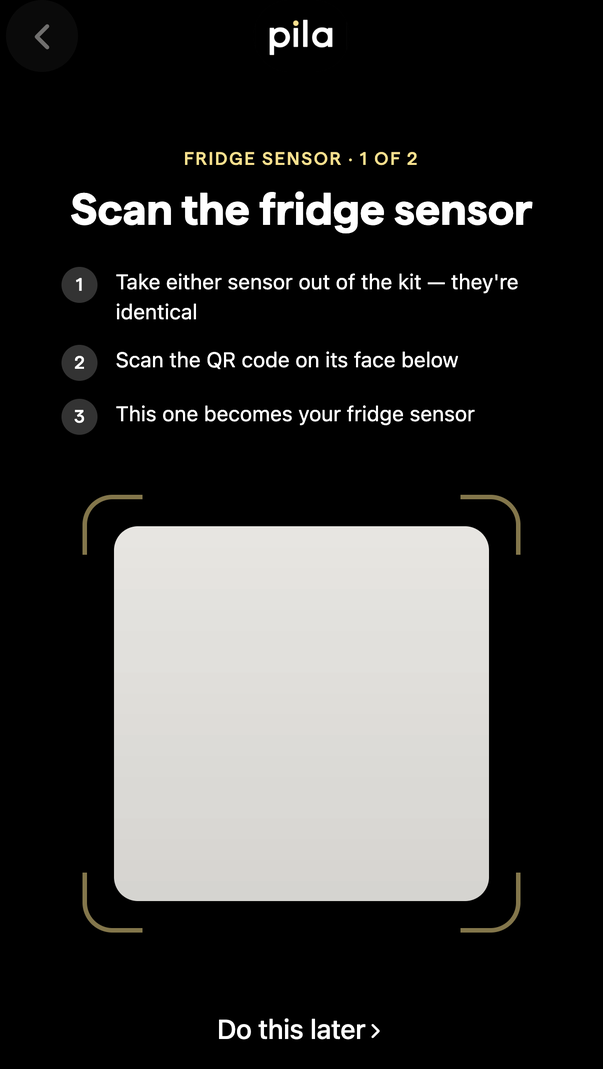
The two sensors are identical, and whichever you scan first becomes your fridge sensor. Scan the QR code on its face.
Place it in the fridge
Put the sensor on the middle shelf, toward the front, face up and in the open. Avoid the door shelves. They swing several degrees every time the door opens, so a sensor there reports the door rather than your food. Leave it uncovered too, since a sensor buried under a stack of food or shut inside a crisper drawer never sees the light that tells your Pila the door is open.
Your Pila listens for the first reading, which usually lands within a minute. When it arrives you will see a live temperature and Sensor found. Repeat the same three steps for the freezer sensor.
What you see next
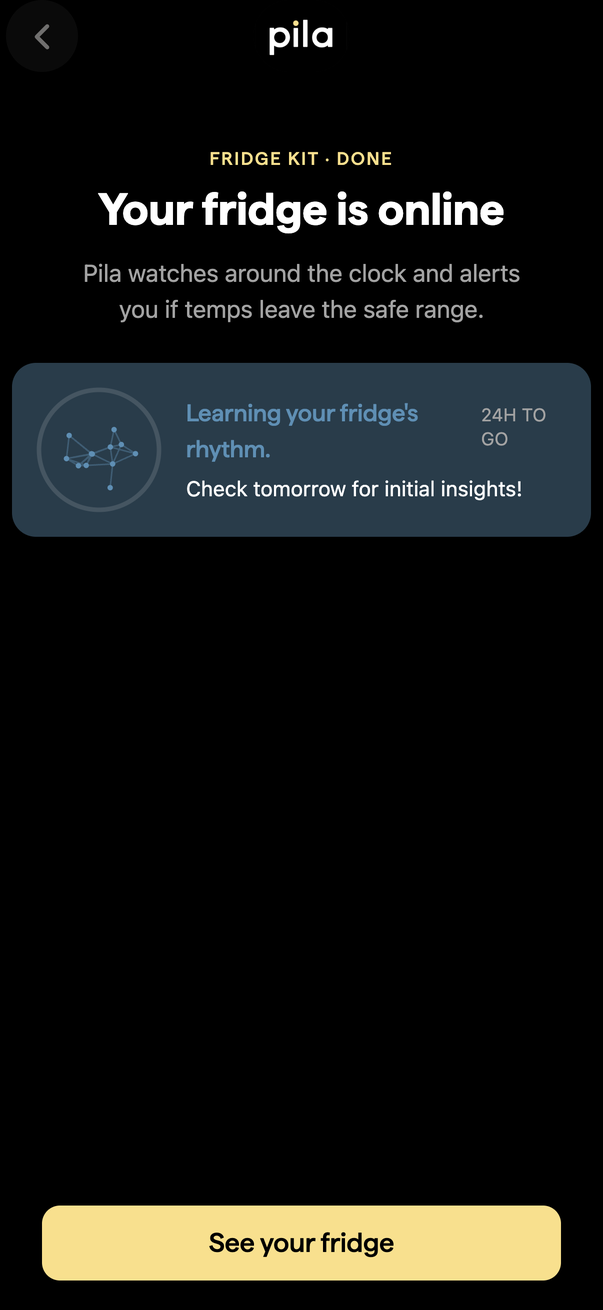
Your fridge gets its own page in the app. Readings update every few minutes, and the first full day of data is what your Pila uses to learn the normal rhythm of your fridge, so the picture gets sharper after about 24 hours.
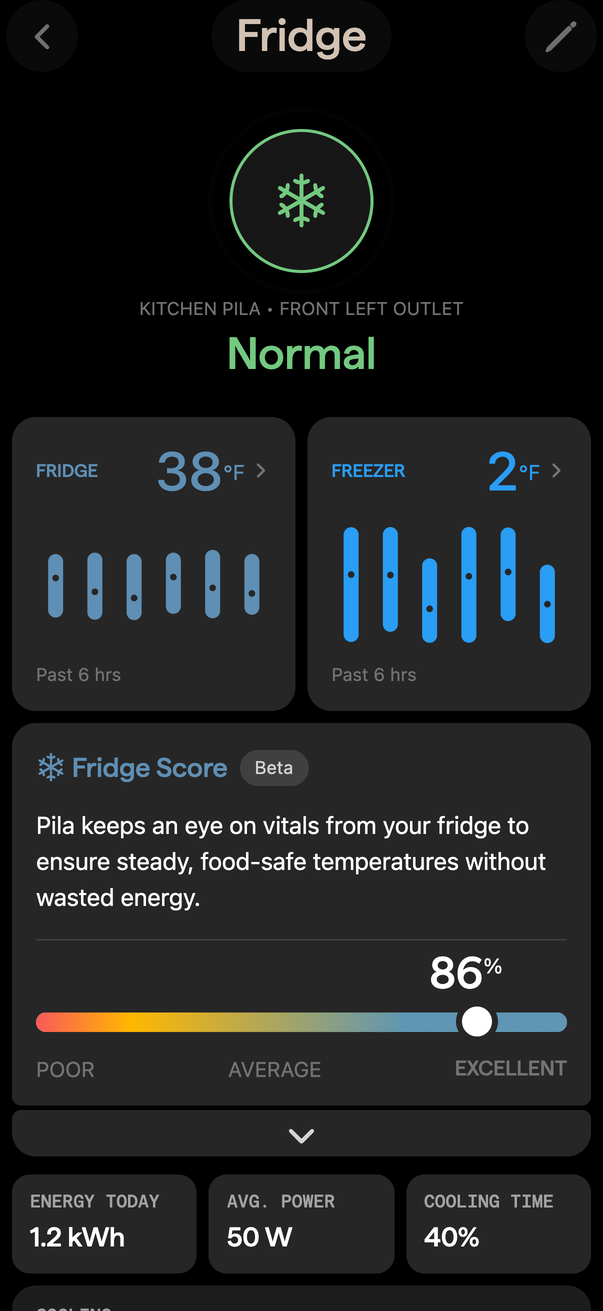
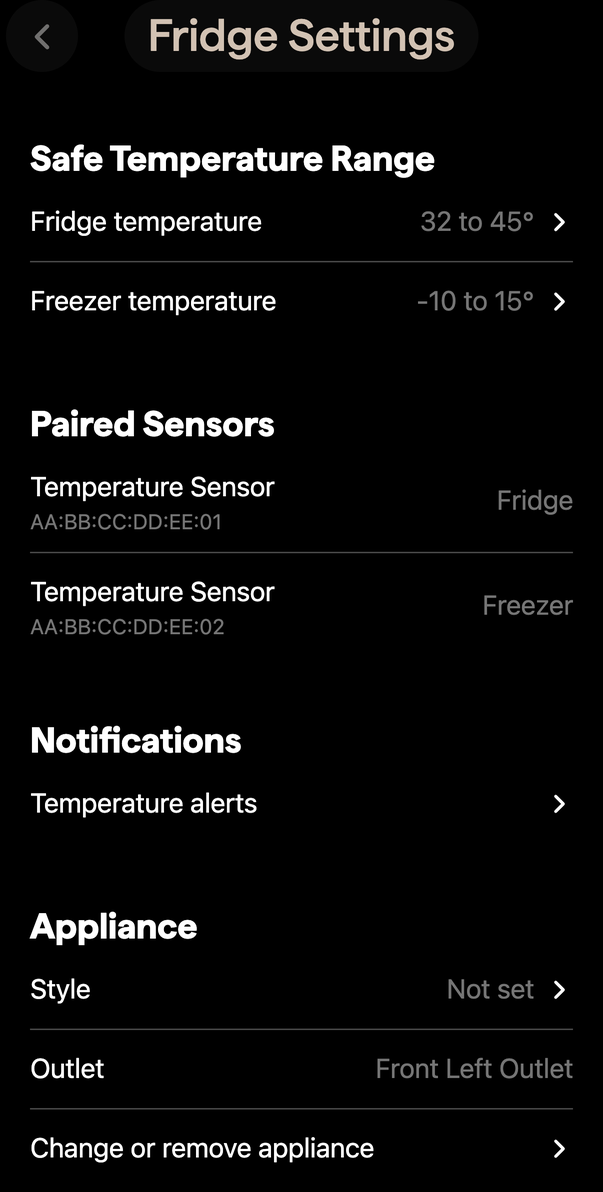
Out of the box your Pila alerts on 32 to 45°F for the fridge and -10 to 15°F for the freezer. Wine fridges use 45 to 65°F instead. You can change any of these under Fridge Settings → Safe Temperature Range.
If something does not go to plan
| What you see | What to do |
|---|---|
| Your Pila looks offline | Sensors pair through your Pila, so pairing cannot start until it is back online. Check that it is powered on and connected to Wi-Fi, then try again. |
| Still listening after 90 seconds | Check the battery tab is all the way out, since it can tear and leave a strip inside. Hold the sensor near your Pila for a moment, then put it back. Keep the fridge within about 30 feet of your Pila. |
| That is not a Pila sensor code | You are scanning the wrong code. The one you want is on the face of the sensor itself, not on the box or the packaging. |
| You already scanned this one | Both sensors are identical, so it is easy to pick up the same one twice. Grab the other one. |
| You paired one sensor and stopped | Open Fridge Settings → Paired Sensors and tap Pair a New Sensor whenever you are ready to add the second. |
| The door state looks wrong | Door state comes from the light the sensor sees, so a sensor under a pile of food or inside a closed drawer reads as shut even when the door is open. Move it somewhere it can see out. |
| Temperatures look wrong | Give a newly placed sensor an hour to settle to the temperature inside. If a reading still looks off, check the sensor has not ended up in a door shelf, buried under food, or against the back wall where frost forms. |
No sensors yet? You can still set the outlet up as a fridge and tap Set up temperature monitoring later. Your Pila watches the fridge through its power use in the meantime, and you can add the sensors any time.
